Shop MycoBenefits™
-
MycoBenefits™ Sleep* Capsules 
 MycoBenefits™ Sleep* Capsules$29.95$29.95
 -
MycoBenefits™ Beauty Capsules 
 MycoBenefits™ Beauty Capsules$29.95$29.95
 -
MycoBenefits™ Focus* Capsules 
 MycoBenefits™ Focus* Capsules$29.95$29.95
 -
MycoBenefits™ Mood* Capsules 
 MycoBenefits™ Mood* Capsules$29.95$29.95


Founded By Paul Stamets
About Fungi Perfecti®
An Eco-Friendly Brand
Sustainability Report
Giving Bees A Chance
BeeFriendly™ Initiative
HELPING BEES, TREES, PEOPLE, & PLANET
Paul Stamets started Fungi Perfecti® with the goal of building the bridge between people and fungi.
Since its inception in 1980, Fungi Perfecti has become synonymous with cutting-edge mycological research and solutions. Our continued mission is to explore, study, preserve, and spread knowledge about the use of fungi for helping people and planet. Read More »
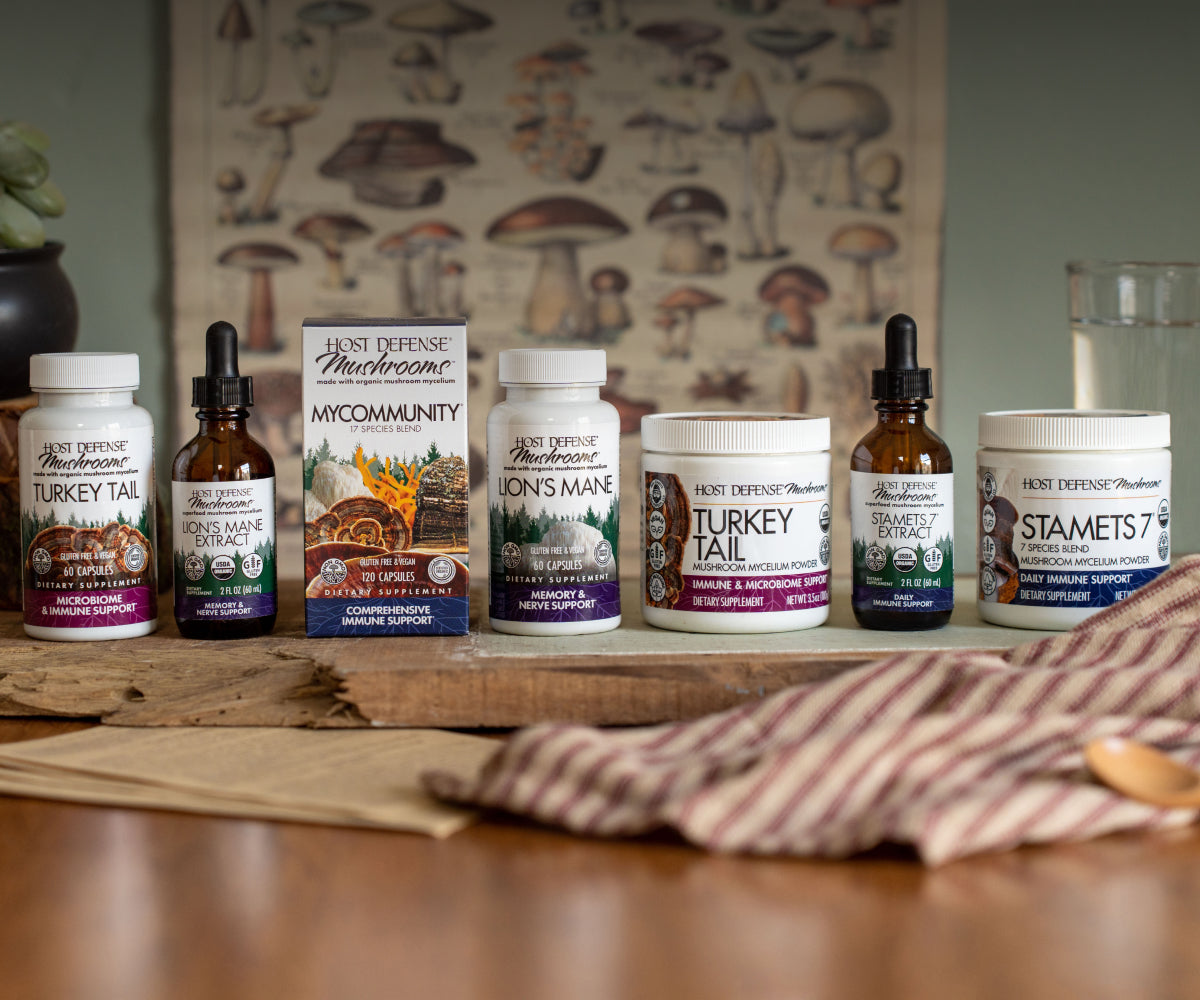
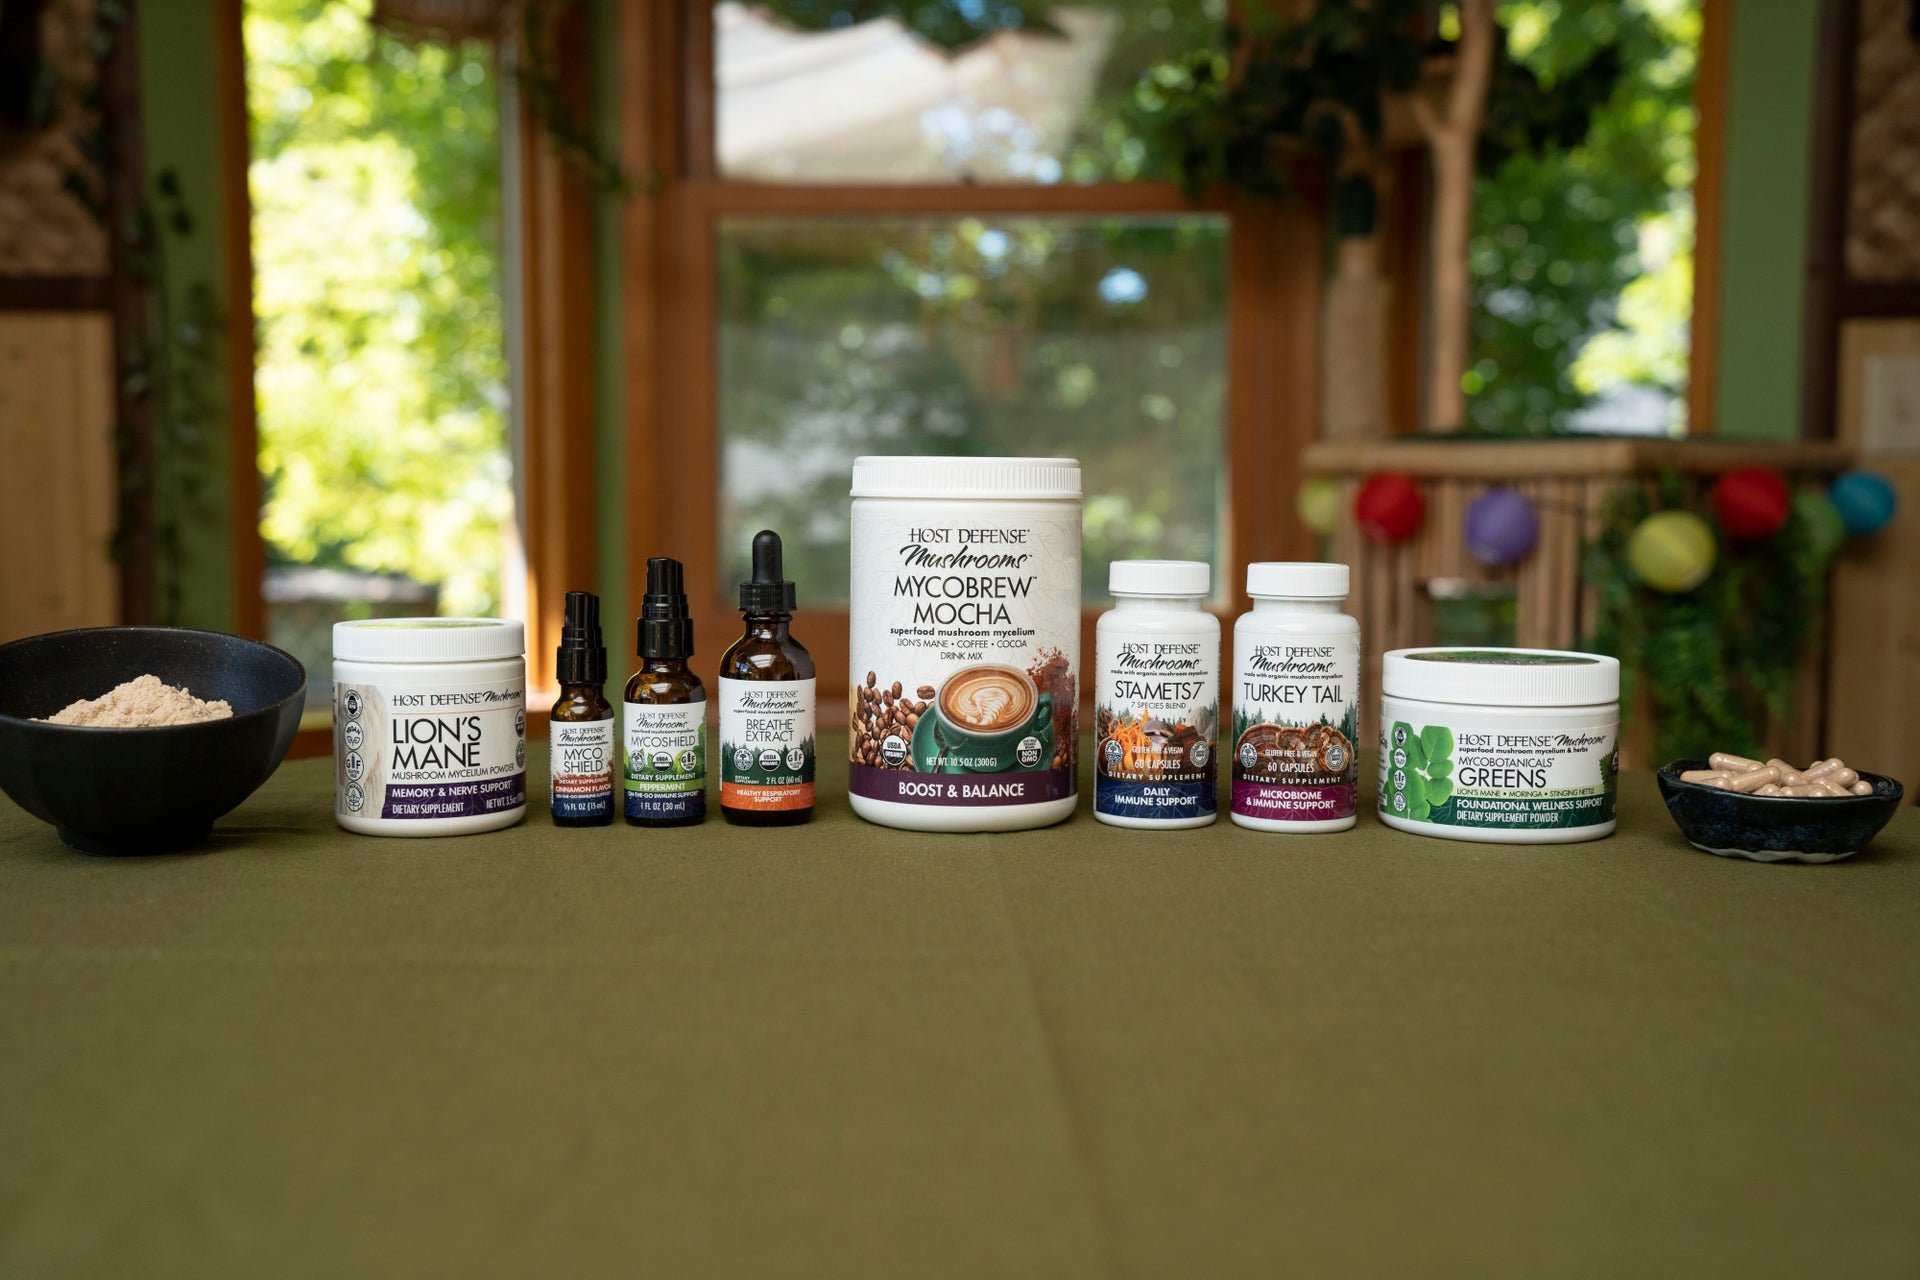
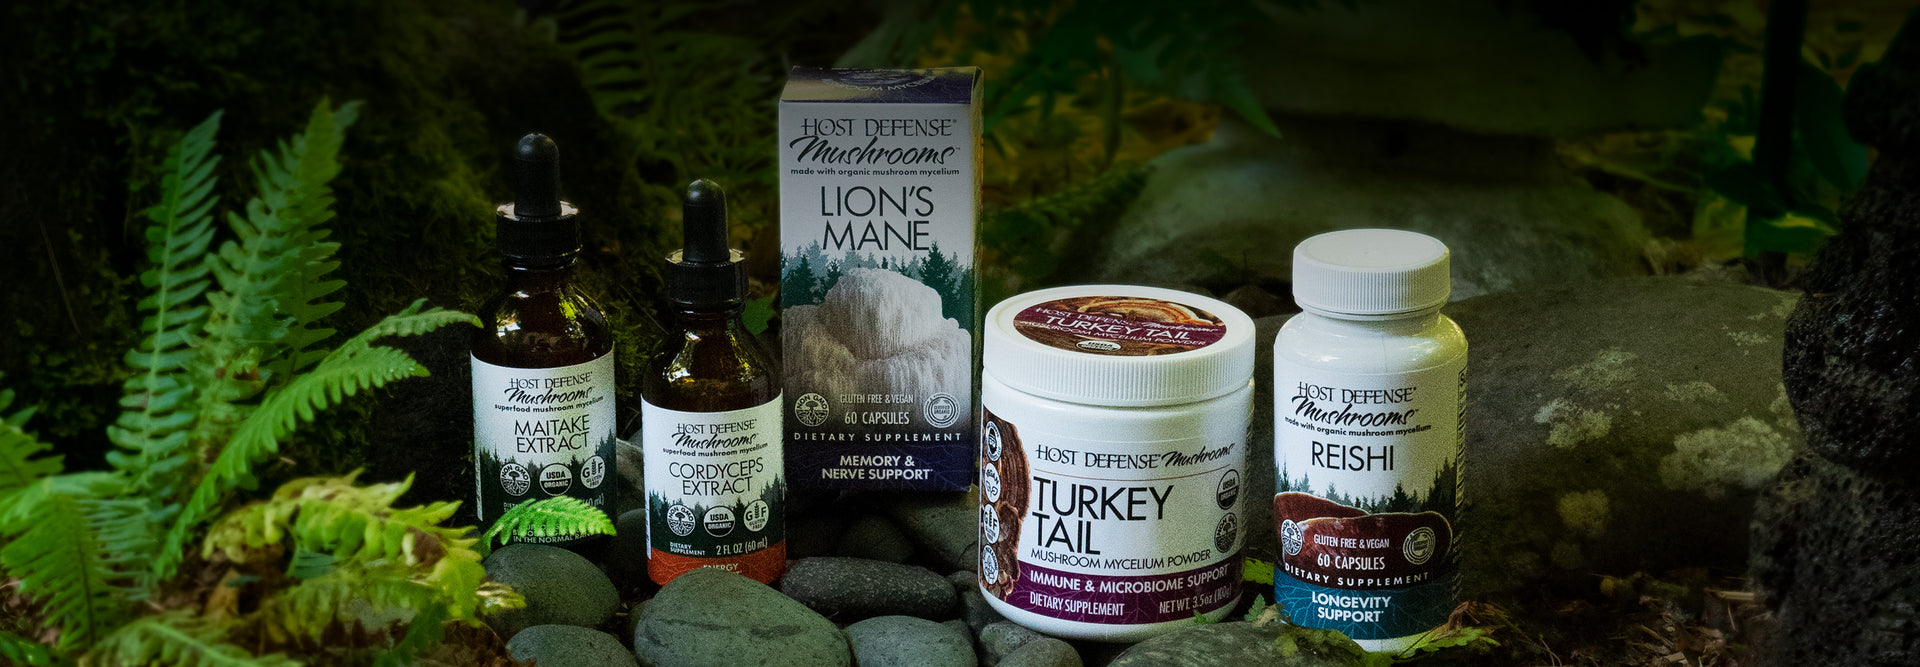
Makers of Host Defense Mushrooms
Our mushroom mycelium is grown on our certified organic farm in Washington State and is non-GMO, vegan, and gluten-free.
We base our product development and formulation on scientifically proven data to ensure quality and efficacy. All of our supplements are verified for identity, purity, composition, and strength by independent labs.
BLOGS & ARTICLES
 Read more
Morel Classification Overview Division: Ascomycota Class: Pezizomycetes Order: Pezizales Family: Morchellaceae Genus: Morchella Common Species: Morchella esculenta, Morchella elata, Morchella deliciosa, etc. There’s something undeniably fascinating about mushrooms in the spring. As forests awaken from their winter lull and stir...
 Read more
The brain is the most powerful tool we have. Every part of our day depends on the mind’s ability to focus, adapt, and perform. Like the ocean, our minds are in constant motion, filled with thoughts, ideas, creativity, and inner...
 Read more
Sleep plays a large part in our overall well-being, influencing everything from mood and daily performance to how we handle stress and stay mentally engaged. And yet, even though the average person spends nearly a third of their life asleep,...